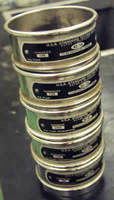
Spore Extraction
Sampling of Roots
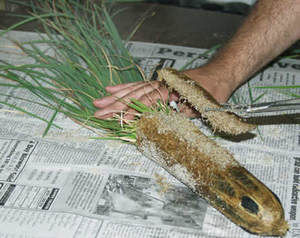
The procedure detailed here focuses on extraction of spores from greenhouse-grown pot cultures (cone-tainers, deepots, pots). In all of the various pot types, a pie-shaped slice is removed from the side that extends almost to the center and from the top to close to the bottom. In all cases (including field soils), it is critical that a representative sampling of roots is included in the sample because some species in all genera except Gigaspora produce intraradical spores.
Break Up Root Fragments
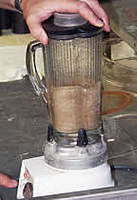
The sample is placed in water in a Waring Blender and blended at high speed for approximately five seconds. The purpose of this step is to break up root fragments and release spores and also to separate spores from hyphal aggregates attached to roots or in the soil (especially those of species with thick-walled hyphae). Longer blending times do not affect spores, but can break up roots to the extent that more fine organic detritus likely will accompany spores in the final extraction prep.
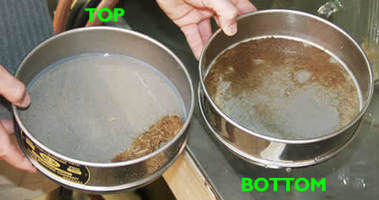
Sieve Blended Material
The blended material is immediately poured through two sieves. Most sand remains in the blender. The bottom sieve has openings of 38, 45, or 53 µm (any of these three work well for most species, although there are some small hyaline glomoid species that require the 38 µm sieve). It captures the majority of spores.
The top sieve generally has 500 µm openings. It captures roots, large debris, and really large spores or sporocarps. Despite the amount of organic material that might be present, spores are large enough to be easily detected after the material from this sieve is transferred to a petri dish.
Wash and Transfer
Generally, we do not process material in the top sieve through a centrifugation step because of the amount of organic detritus. It is washed, transferred to a large petri dish, and viewed through a stereomicroscope just to verify that no spores are present. The material on the bottom sieve is collected in a 50-mL beaker with a rubber policeman and then transferred into 50-mL tubes containing a 60% sucrose solution (table sugar is used because it is inexpensive) and water. These tubes are centrifuged (approx. 960 x g) for 2-3 minutes in a swinging-bucket rotor in a tabletop centrifuge. At the end of the run, soil and other sense particulates are pelleted in the bottom of the tube. Spores and fine organic detritus is suspended in sucrose.
Decant into Smaller Sieves
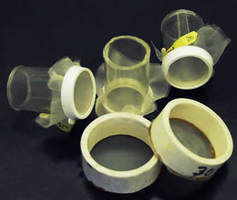
The supernatant in each tube is quickly decanted into smaller sieves—either commercial stainless steel ones made by Tyler or homemade units of two types: (i) made from plastic vials with base removed and nylon mesh held in place by the plastic cap (with center removed using a heated cork borer) and (ii) nylon mesh glued to the rim of thick-walled PVC pipe.
Separate from Organic Material
The material collected on these smaller sieves is washed for 1-2 minutes under tapwater and transferred to a glass petri dish. Spores are collected manually using an extruded 9-inch glass pipette to separate from organic material.
Once this is done, they can be stored at 4oC for up to 30 days (checking weekly for parasitized spores which then are immediately removed). At right is an image of a 50 mL extract from a pot culture of Gigaspora gigantea, with the abundant spores large enough to be visible (bright greenish dots) and intermixed with small root fragments.
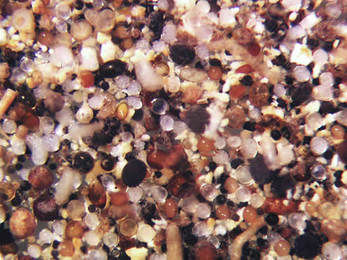
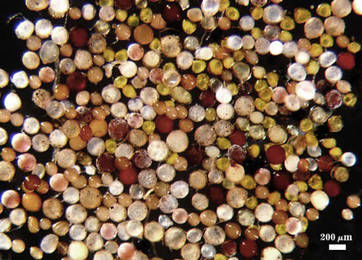
Below is pictured the initial extract from a productive trap culture of a fresh-water wetland rhizosphere sample (left image) and spores collected manually from that extract (right image). See a composite photo of the different species separated from this extraction.
 |  |
Separate Spores
The final (and most laborious) step is to separate spores of each morphotype (to mount and preserve, inoculate plants, extract DNA, perform germination assays, etc.). Some taxonomic expertise is needed here, but if the spores are in good condition, then anyone with observation skills can make the separations and initiate monospecific cultures. Identification to species can be another matter.